2021年8月29日 星期日

Javascript, CSS, 套件, 線上編輯器

 Source:https://www.webdesigns.com.tw/jsFiddle.asp

jsFiddle--線上檢測網頁原始碼的實用工具

jsFiddle是相當實用且受歡迎的線上編輯器,能夠線上測試、檢查所撰寫的code,也可以分享自己寫的code範例,給其他人觀看、修改、學習等等,以達到交流的效果。

jsFiddle:https://jsfiddle.net/

欄位有html、CSS、javascript、result四欄。

javascript欄位可以自由選擇版本,如jQuery、YUI、ExtJS等等。

一開始左上角有Run、Save、Tidy、Collaborate四個選項

Run:執行代碼並顯示在result

Save:儲存

Tidy:將代碼排版弄整齊

Collaborate:可以將自己所寫的代碼拿給其他人討論,限登入使用

註冊步驟簡單,只要有帳密和電子信箱即可。

按Save儲存後,左上角的選項會多出Update、Fork、Set as base

 
Update:儲存更新版本,每儲存一次,網址上會多一個版本序號。如下圖:
 
Fork:另存新檔,會另開一個新網址。
Set as base:如果版本存到第二版以後,會將這一版設定為初版的範本。
若要在網頁中嵌入的話,只要點開Embed,將EMBED CODE中的碼複製貼到網頁中就好囉。
 
若是想用iframe也可選擇,只要按上方的prefer iframe就會產生iframe碼。
 

Source:

HERE API Example - 使用 JSFiddle 線上編輯與測試 Web 程式碼

HERE Example 提供了豐富的範例,其中提供 Fork on GitHub 和 Edit in JSFiddle 兩種取得或測試程式碼的方式,本文說明如何透過 JSFiddle 線上編輯與測試 Web 程式碼。

JSFiddle 是一個線上的 IDE,可以用來測試和展示使用者所建立的 HTML、CSS 和 JavaScript 程式碼,而 HERE Example 與 JSFiddle 整合,您可以挑選適合的 Example 到 JSFiddle 編輯與測試程式碼。

首先連結至 HERE Developer 網站,選擇 Examples,接著就可以選擇您所想要了解的範例,範例中有原始碼與執行結果圖。

如果想要實際執行或編輯程式碼,我們可以透過 JSFiddle 來達成,先連結到想要測試的範例中,點選上方的 Edit in JSFiddle

在 JSFiddle 中,可以看到 HTML、JavaScript、CSS 均已呈現於網頁中,可以點選 Run 執行

執行結果在右下角

也可以對程式碼進行修改,例如我修改 JavaScript,調整地圖中心至經緯度 25.033671, 121.564427,可以看到地圖顯示的地點改為台北 101 附近。

如果後續要將程式碼套用到自己所開發的程式使用,請記得替換為自己申請的 API KEY

關聯文章

系列文章


出處:https://tools.wingzero.tw/article/sn/65

不用寫程式也能套生動的動畫- AniJS

分享:

Demo: AniJS

github: https://github.com/anijs/anijs


AniJS 只要讀入他寫好的 js 和 css,再在 html 上加上類似 data-anijs="if: mouseover, on: body, do: swing animated" 的敘述,就可以把動畫套到上面去了。


在 JavaScript 和 THREE.js 中實現自定義拖動事件功能 ( Implementing a custom drag event function in JavaScript and THREE.js )

 Source出處:https://uxdesign.cc/implementing-a-custom-drag-event-function-in-javascript-and-three-js-dc79ee545d85

在 THREEjs(或 d3 或其他任何東西)中的用戶“拖動”交互中做我們想做的,我們想要的。

一系列垂直堆疊的網絡 - 拖動在水平方向上旋轉

THREEjs 是一個跨 JavaScript 庫,它允許我們在 Web 瀏覽器中釋放 GPU 驅動圖形的潛力。雖然它同時提供了用於對像或場景操作的aorbitalControlsdragControls函數,但是如果我們想要對drag事件進行更個性化的響應呢?——這就是我們將在這裡介紹的內容。

文章中討論的代碼可以應用於任何 HTML 元素,儘管在這種情況下重點放在 THREEjs 上。唯一的區別在於最後進入dragAction函數的內容。

— 如果您是 THREE.js 庫的新手……這裡

— 如果您希望將相同的原則應用於數據驅動文檔 (d3.js),請查看此處

事件監聽器

為了確定我們的程序中發生了什麼,我們首先觀察一些鼠標事件。當用戶“拖動”時,我們需要知道他們何時單擊、移動和釋放對象——在 JavaScript 中,這是通過使用事件偵聽器來完成的。

每個事件(mousedownmousemovemouseup)都附加到網頁中的一個 DOM 元素。在我們的例子中,它是三個庫在其上繪圖的畫布。我們可以通過使用得到這個

讓畫布 = renderer.domElement

默認變量

我們首先定義一組我們的程序將更新的默認變量。在這裡,我們有一個合乎邏輯的“鼠標按下了嗎?” mouseDown變量和光標位置變量。

var mouseDown = false, 
mouseX = 0,
mouseY = 0;

鼠標按下

我們要做的第一個檢查是查看我們的用戶是否按下了鼠標按鈕——因為沒有這個,我們就沒有 'drag' 事件。我們通過mousedown在畫布元素上監聽事件來做到這一點

canvas.addEventListener(' mousedown ', function (evt) { 
evt.preventDefault();
mouseDown = true;
mouseX = evt.clientX;
mouseY = evt.clientY;
}, false);

發生這種情況時,我們更新mouseDown邏輯變量並記錄當前光標位置。

鼠標移動

現在我們有一個按下的按鈕,我們想要跟踪用戶在屏幕上拖動鼠標的時間。我們可以這樣做:

canvas.addEventListener(' mousemove ', function (evt) {            if (!mouseDown) {return} // 按鈕被按下了嗎?            evt.preventDefault(); 
var deltaX = evt.clientX - mouseX,
deltaY = evt.clientY - mouseY;
mouseX = evt.clientX;
鼠標Y = evt.clientY;
dragAction (deltaX, deltaY,object); }, 錯誤的);

每次用戶移動鼠標時都會激活此功能。但是,如果尚未按下鼠標按鈕,則它不會執行任何操作。

如果按下按鈕,我們的用戶正在屏幕上“拖動”。因此,我們記錄移動的距離,並將其dragAction與我們希望操作的對像一起傳遞給自定義函數。

鼠標向上

最後,我們需要知道用戶何時停止按下鼠標按鈕,並重置mouseDown變量。這是通過mouseup事件偵聽器完成的

canvas.addEventListener(' mouseup ', function (evt) { 
evt.preventDefault();
mouseDown = false;
}, false);

自定義響應函數

到目前為止,我們已經查看了用戶何時應用“拖動”事件以及他們在整個過程中移動光標的距離的記錄。現在我們創建一個函數來將該信息傳遞給我們場景的一部分。

出於本示例的目的,我們將旋轉一個網格對象——或者在我的例子中是一個包含 5 個對象的 THREE.Group(參見此處的組)。我們通過改變xy旋轉來做到這一點

函數dragAction(deltaX, deltaY,object) { 
object.rotation.y += deltaX / 100;
object.rotation.x += deltaY / 100;
}

這裡deltaXdeltaY代表整個拖動事件中鼠標光標的相對變化。然而,動作可以是用戶想要的任何東西——例如,如果我們想轉換位置,我們可以使用object.position.x += X

把這一切放在一起

由於我計劃重用此代碼,因此每次我希望應用它時復制粘貼都不在我的興趣範圍內。相反,我可以將它打包到一個模塊中,將它放在一個共享文件夾中,並在每次我想使用它時導入它。模塊內容如下:

/*
Custom Reusable Drag Code
Dan Ellis 2020
*/
export function dragControls(canvas,dragAction,object) {
var mouseDown = false,
mouseX = 0,
mouseY = 0;
console.log('mouseevents',canvas,object)
canvas.addEventListener('mousemove', function (evt) {
if (!mouseDown) {return}
//console.log('drag')
evt.preventDefault();
var deltaX = evt.clientX - mouseX,
deltaY = evt.clientY - mouseY;
mouseX = evt.clientX;
mouseY = evt.clientY;
dragAction(deltaX, deltaY,object);
}, false);
canvas.addEventListener('mousedown', function (evt) {
evt.preventDefault();
mouseDown = true;
mouseX = evt.clientX;
mouseY = evt.clientY;
}, false);
canvas.addEventListener('mouseup', function (evt) {
evt.preventDefault();
mouseDown = false;
}, false);
}
export function dragAction(deltaX, deltaY,object) {
object.rotation.y += deltaX / 100;
object.rotation.x += deltaY / 100;
}
module.exports = {dragControls:dragControls, dragAction:dragAction}

導入模塊

現在我們有了一個模塊,我們可以將它導入到我們的腳本中:

'./dragTHREE.js'導入{dragControls,dragAction} 

並將其用作

dragControls (renderer.domElement,dragAction,graphs)

renderer.domElement我的畫佈在哪裡dragAction是一個將鼠標位置和對像作為參數的函數,並且graps是一個包含標題圖像中每個圖形的所有單獨組件的組對象。

在模塊中使用個人功能

由於該模塊可用於編輯,我們可以dragAction直接更改函數,也可以將不同函數傳遞給dragControls

function translateAction (deltaX, deltaY,object) { 
object.position.y += deltaX / 100;
object.position.x += deltaY / 100;
}
dragControls (renderer.domElement, translateAction ,graphs)

一個可選的 d3 示例

如果您使用的是 d3,您可以將矩形的形狀更改為以相同方式滾動的水平和垂直距離。

// 在 (0,0) 處創建寬度為 200px 的矩形 ...     svg .append("rect") 
.attr("x", 0)
.attr("y", 0)
.attr("width", 200)
.attr("height", 100)
.attr("id" ,"我的矩形")
函數擠壓(deltaX,deltaY,對象){ var rect = d3.select(' #myrectangle ')
// 獲取當前測量值
var w = rect.attr('width')
var h = rect.attr('height')
// 更新寬度和高度值
rect.attr('width', w+deltaX)
.attr('height',h+deltaY)
}

// 不要忘記確保傳遞的是 DOM 元素而不是 d3 包裝的對象。為此,請使用 svg.node()
dragControlssvg.node() 擠氣,'無')

結論

我們有了它,JavaScript 中拖動對像操作的基礎知識,主要用於在 THREEjs 中操作 WebGL 對象,但也適用於所有元素。這意味著我們也可以在 SVG 上使用它們或在 d3.js 中操作畫布。但是,如果您使用的是 d3,我強烈建議您查看 d3.drag 和 selection 庫:

反而。

THREE.js 的重要說明——如果您打開了 OrbitalControls,自定義函數將不起作用,因為這兩個庫都嘗試做同樣的事情。


Doing what we want, how we want it, on user ‘drag’ interaction in THREEjs (or d3 or anything really).

A series of vertically stacked networks — drag rotated across the horizontal

THREEjs is a cross-over JavaScript library that allows us to unleash the potential of GPU driven graphics within the web browser. Although it provides both a orbitalControls and dragControls functions for object or scene manipulation, but what if we want a more personalised response on drag events? — this is what we shall cover here.

The code discussed within the article can apply to any HTML element, although the emphasis, in this case, is placed upon THREEjs. The only difference falls upon what goes into the dragAction function at the end.

— If you are new to the THREE.js library…here

— If you wish to apply the same principles to Data-Driven Documents (d3.js), have a look here

The Event Listener

To determine what is happening within our program we start by observing a number of mouse events. As the user ‘drags’, we need to know when they click, move and then release the object — in JavaScript, this is done through the use of event listeners.

Each Event (mousedownmousemove and mouseup) is attached to a DOM element within the webpage. In our case, it is the canvas upon which the THREE libraries is plotting on. We can get this by using

let canvas = renderer.domElement

Default Variables

We begin by defining a set of default variables which our program will update. Here we have a logical ‘is the mouse down?’ mouseDown variable, and the cursor position variables.

var mouseDown = false,
mouseX = 0,
mouseY = 0;

Mouse Down

The first check we want to make is to see if our user has pressed the mouse button — as without this we do not have a ‘drag’ event. We do this by listening for a mousedown event on our canvas element.

canvas.addEventListener('mousedown', function (evt) {
evt.preventDefault();
mouseDown = true;
mouseX = evt.clientX;
mouseY = evt.clientY;
}, false);

When this happens we update our mouseDown logical variable and record the current cursor position.

Mouse Move

Now we have a pressed button, we want to track how much the user drags the mouse across the screen. We can do this as so:

canvas.addEventListener('mousemove', function (evt) {            if (!mouseDown) {return} // is the button pressed?            evt.preventDefault();
var deltaX = evt.clientX - mouseX,
deltaY = evt.clientY - mouseY;
mouseX = evt.clientX;
mouseY = evt.clientY;
dragAction(deltaX, deltaY,object); }, false);

This function is activated each time the user moves their mouse. If the mouse button has not been pressed, however, it does not do anything.

If the button is pressed, our user is ‘dragging’ across the screen. We therefore record the distance moved, and pass it on to a custom dragAction function, along with the object we wish to manipulate.

Mouse Up

Finally, we need to know when the user stops pressing the mouse button, and reset the mouseDown variable. This is done with the mouseup event listener:

canvas.addEventListener('mouseup', function (evt) {
evt.preventDefault();
mouseDown = false;
}, false);

The custom response function

So far we have looked at recording when the user applies a ‘drag’ event and how far they have moved the cursor throughout this. Now we create a function to pass that information to the part of our scene.

For the purpose of this example, we will be rotating a mesh object — or in my case a THREE.Group containing 5 objects (see here for groups). We do this by changing the x and y rotation as such:

function dragAction(deltaX, deltaY,object) {
object.rotation.y += deltaX / 100;
object.rotation.x += deltaY / 100;
}

Here deltaX and deltaY represent the relative change of the mouse cursor throughout the drag event. The actions however can be anything the user desires — for instance, if we wanted to translate the position, we could use object.position.x += X instead.

Putting it all together

As I plan to reuse this code, It is not within my interest to copy-paste each time I wish to apply it. Instead, I can package it into a module, place that within a shared folder and import it each time I desire to use it. The module contents are given below:

/*
Custom Reusable Drag Code
Dan Ellis 2020
*/
export function dragControls(canvas,dragAction,object) {
var mouseDown = false,
mouseX = 0,
mouseY = 0;
console.log('mouseevents',canvas,object)
canvas.addEventListener('mousemove', function (evt) {
if (!mouseDown) {return}
//console.log('drag')
evt.preventDefault();
var deltaX = evt.clientX - mouseX,
deltaY = evt.clientY - mouseY;
mouseX = evt.clientX;
mouseY = evt.clientY;
dragAction(deltaX, deltaY,object);
}, false);
canvas.addEventListener('mousedown', function (evt) {
evt.preventDefault();
mouseDown = true;
mouseX = evt.clientX;
mouseY = evt.clientY;
}, false);
canvas.addEventListener('mouseup', function (evt) {
evt.preventDefault();
mouseDown = false;
}, false);
}
export function dragAction(deltaX, deltaY,object) {
object.rotation.y += deltaX / 100;
object.rotation.x += deltaY / 100;
}
module.exports = {dragControls:dragControls, dragAction:dragAction}

Importing the module

Now we have a module, we can import it within our script as :

import {dragControls,dragAction} from './dragTHREE.js';

and use it as

dragControls(renderer.domElement,dragAction,graphs)

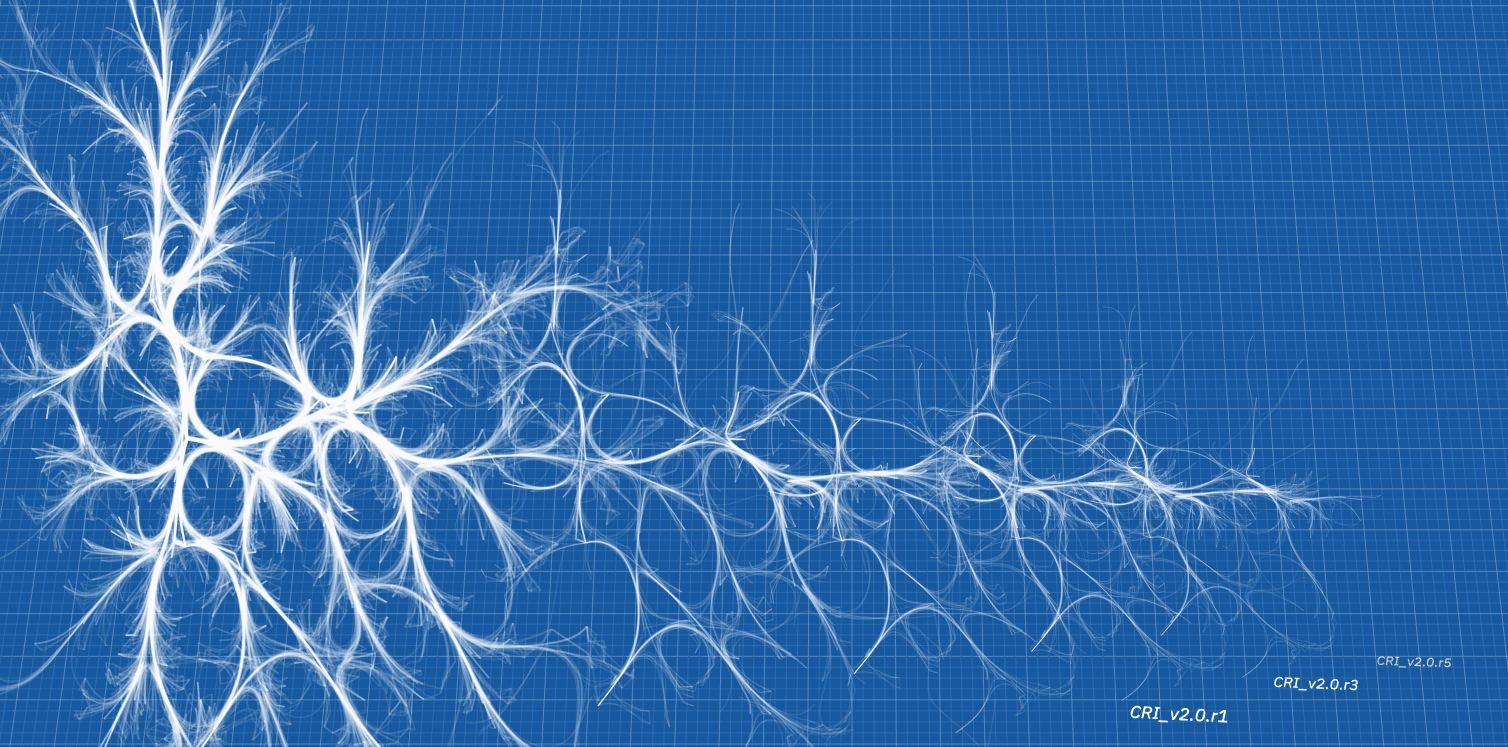
Where renderer.domElement is my canvas, dragAction is a function which takes the mouse positions and an object as an argument, and graps is a group object containing all the individual components of each graph in the title image.

Using a personal function with the module

Since the module is available to edit, we can either change the dragAction function directly, or just pass a different one to dragControls :

function translateAction(deltaX, deltaY,object) {
object.position.y += deltaX / 100;
object.position.x += deltaY / 100;
}
dragControls(renderer.domElement,translateAction,graphs)

An optional d3 example

If you were using d3 you could change the shape of a rectangle to the horizontal and vertical distance scrolled in the same way.

// create our rectangle at (0,0) with a width of 200px ...     svg.append("rect")
.attr("x", 0)
.attr("y", 0)
.attr("width", 200)
.attr("height", 100)
.attr("id","myrectangle")
function squish(deltaX, deltaY,object) { var rect = d3.select('#myrectangle')
// get current measurements
var w = rect.attr('width')
var h = rect.attr('height')
// update width and height values
rect.attr('width', w+deltaX)
.attr('height',h+deltaY)
}

// dont forget to make sure you pass the DOM element and not a d3 wrapped object. To do this use svg.node()
dragControls(svg.node(),squish,'none')

Conclusion

And there we have it, the basics on drag object manipulation in JavaScript, used mainly to manipulate WebGL objects in THREEjs, but also work for all elements. This means we can also use them on SVG’s or to manipulate a canvas in d3.js. However, if you are using d3, I would strongly recommend looking at the d3.drag and selection libraries at

instead.

Important Note for THREE.js — the custom functions do not work if you have OrbitalControls switched on since both libraries try to do the same thing.